Documentation
System Configuration
Advanced options

On the configuration page, you can make additional settings by ticking the "Advanced options" checkbox. These advanced options are indicated in the description by a yellow bar on the left-hand side.
Admin password

You should change the admin password the first time you use it. Make a good note of it so that you do not lock yourself out! The default password for the cFos Charging Manager is empty. The user name is always admin.
Please allow the submission of crash information and anonymised usage statistics so that we can improve our hardware and software.
If you activate 'localhost is admin', the cFos Charging Manager does not require an admin password if web access is carried out from the same PC.
If you have your own SSL certificates, you can activate their use. Otherwise, a system certificate will be used.
Logging
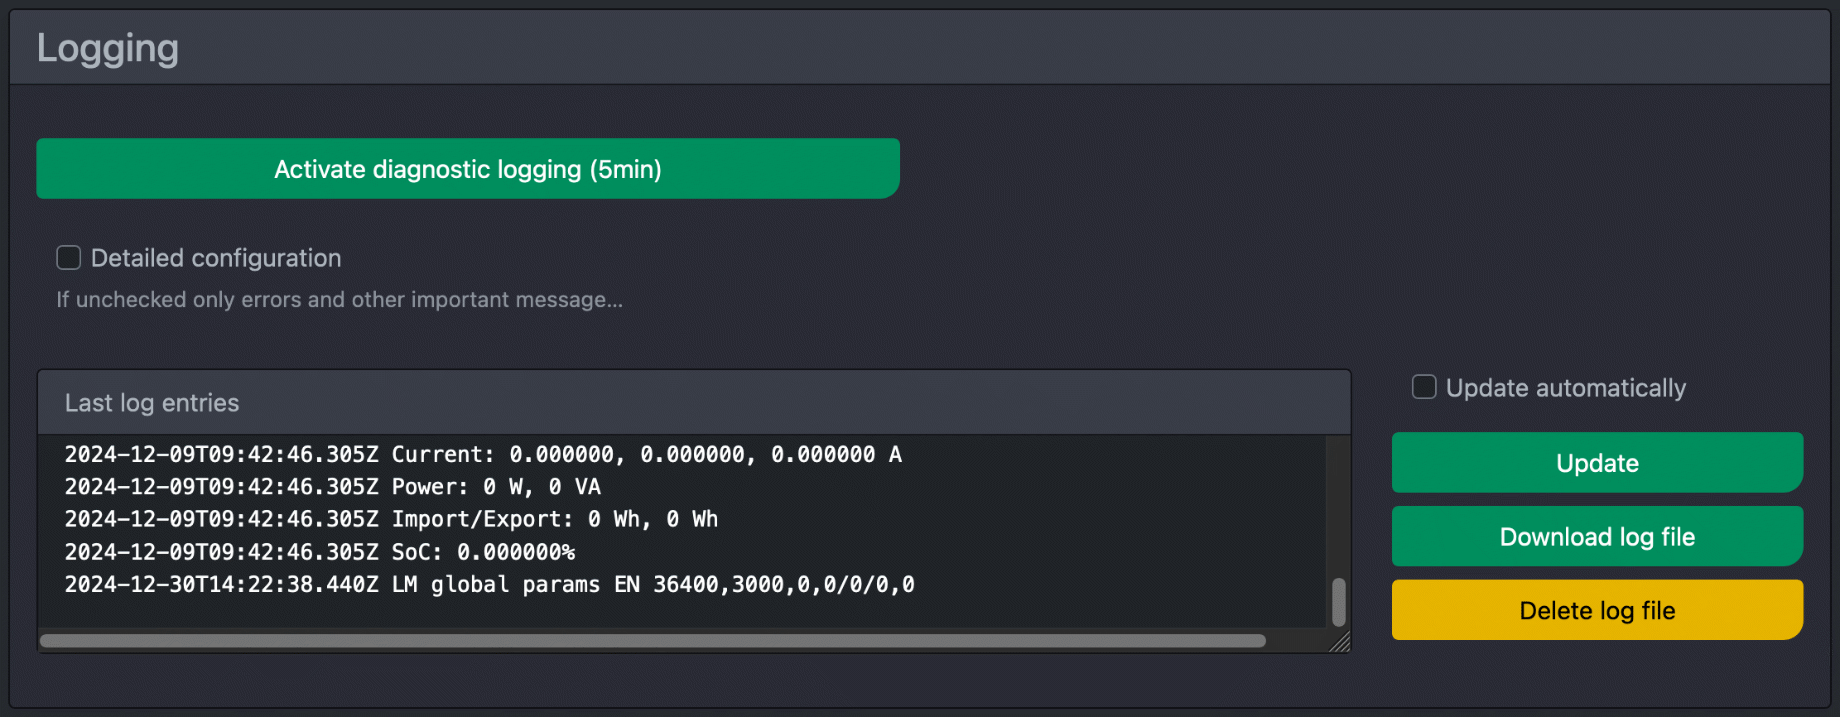
Here you can create a diagnostic log for 5 minutes. Almost everything is then recorded and helps us with support. You should reproduce any problems that occur while the diagnostic log is running. In addition, the entire configuration is also saved in the diagnostic log so that we are informed about the details of your settings. With the general logging settings, you determine how detailed the logging is for the individual topics. This may help with troubleshooting. Remember to set the logs to "Error" or "Off" if they are not needed. If necessary, you can also send logs to a suitable syslog server.
File management
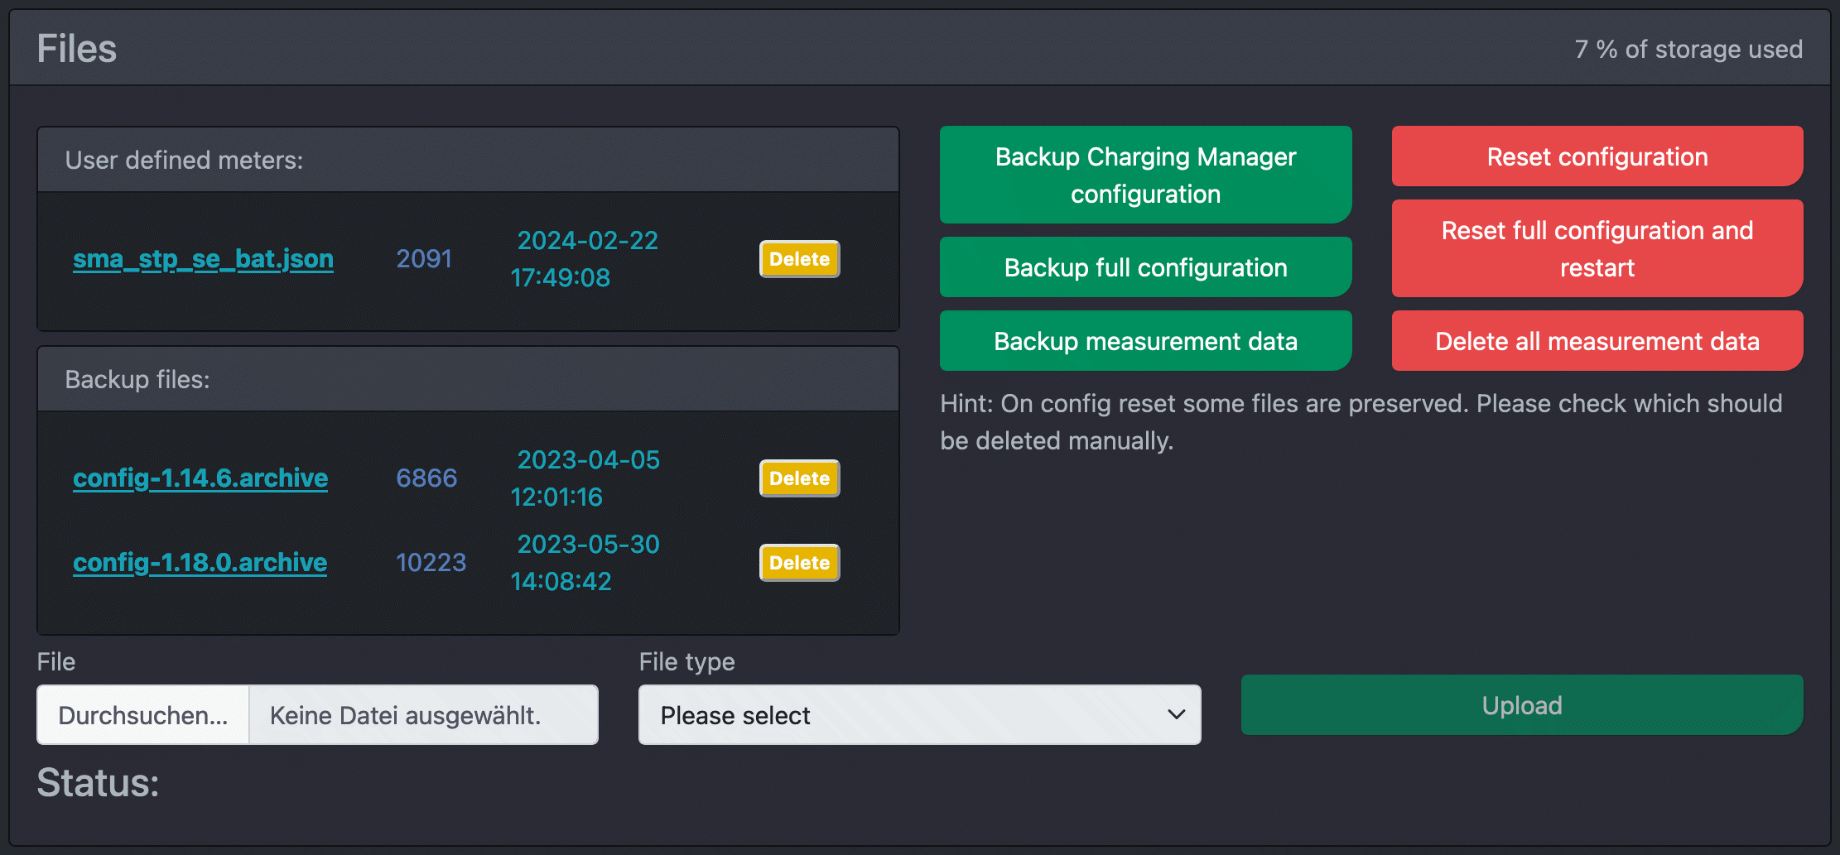
Here you can upload licence keys for activating additional charging points, meter definitions, charging rule sets, configuration files, certificates, user-defined UI pages and measurement data to the cFos Charging Manager or download them for backup purposes. User-defined meters of the same device type have a higher priority than those supplied by us. Uploaded certificates can be selected in all places where certificates can be used.
WLAN
WLAN access point
(only cFos Power Brain, cFos Wallbox Booster and Charging Manager Kit ESP)
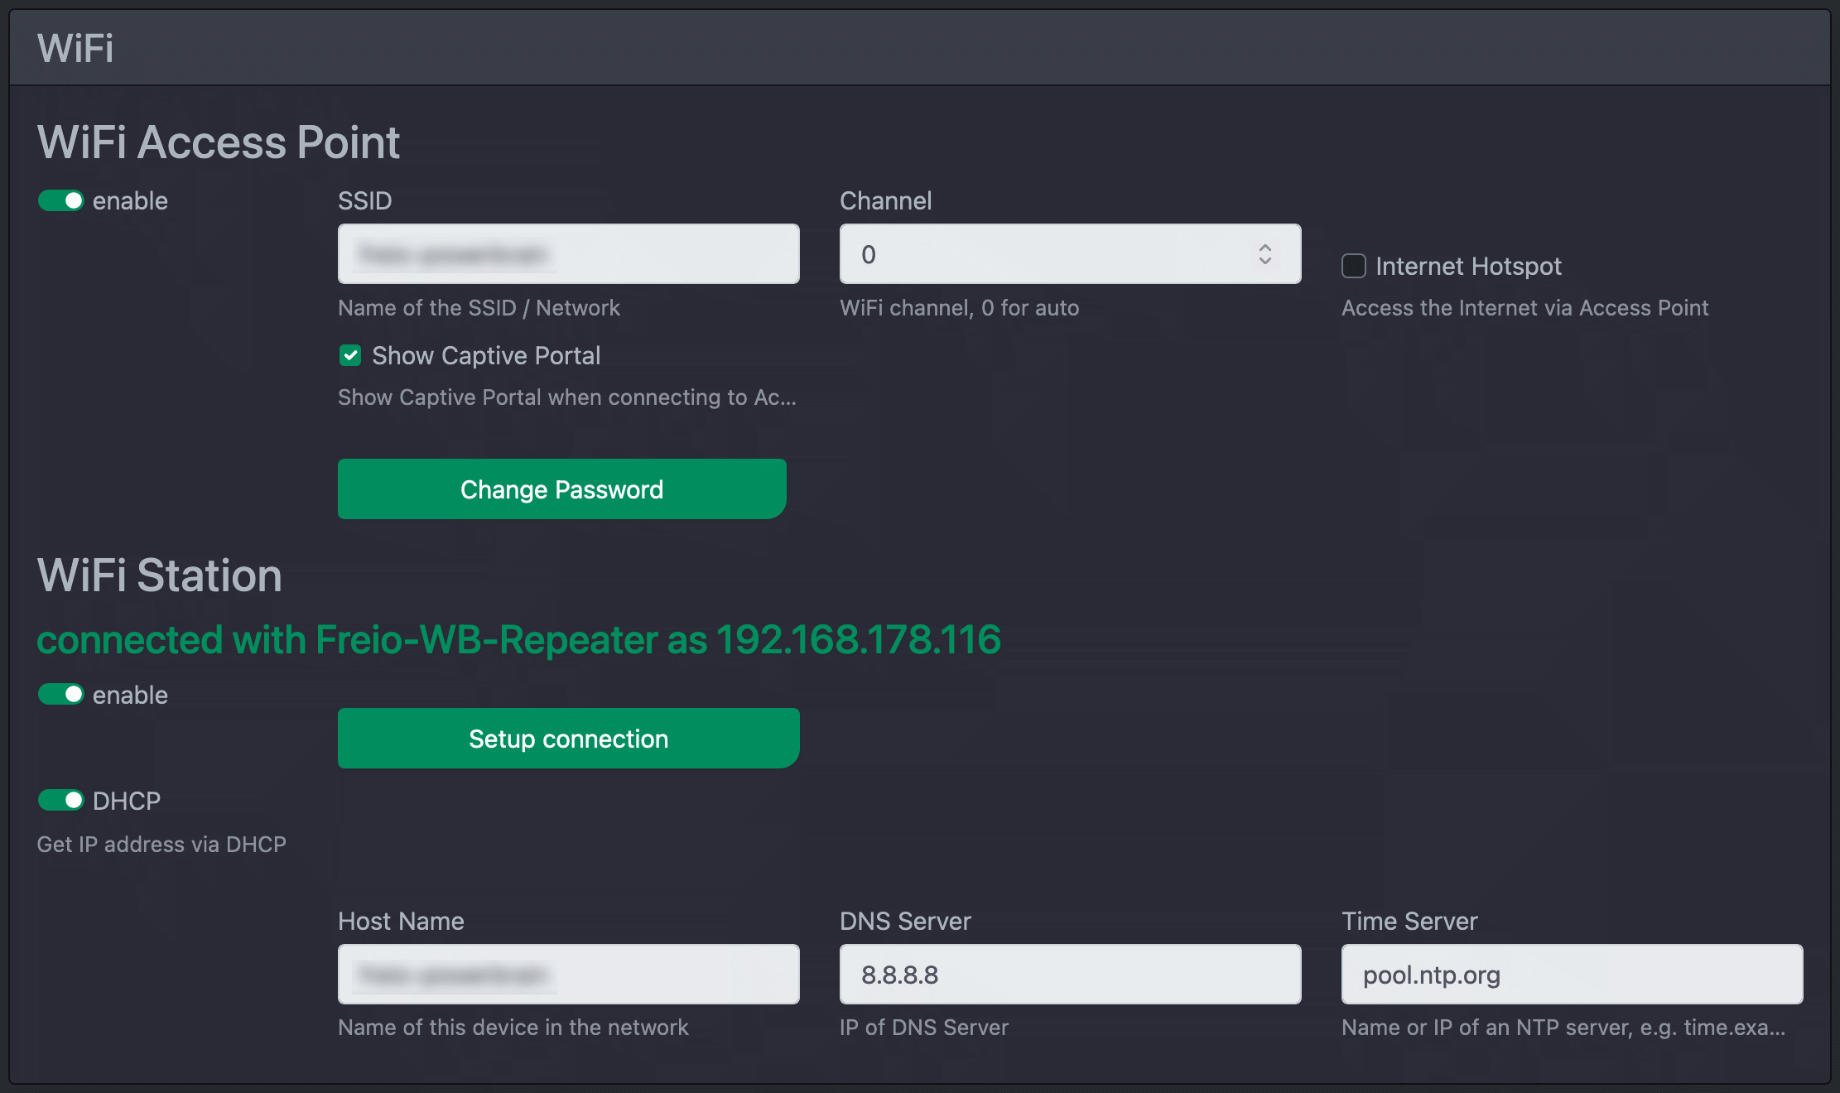
Here you can set the access data for the WLAN access point set up by the ESP. If you also want to activate Internet access via the access point, you can tick "Internet Hotspot". "Captive Portal" ensures that a configuration page for WLAN is called up as directly as possible when accessing the access point.
WLAN station
(only cFos Power Brain, cFos Wallbox Booster and Charging Manager Kit ESP)
Here you can enter the access data for your network's WLAN router. You can also specify whether the controller has a fixed IP address or obtains it via DHCP. You can also specify a DNS and time server.
cFos Mesh
(only cFos Power Brain, cFos Wallbox Booster and Charging Manager Kit ESP)
Connect several cFos Controllers as a mesh.
Cloud service

You can enable the cFos Charging Manager to log on to a cloud server. The default is the cFos Cloud. The system password from the licence key is normally used. If you need a different one, you can enter it here. Here are the instructions for using the cFos Cloud.
Modbus TCP/RTU Proxy
You can forward Modbus TCP accesses to Modbus RTU, i.e. to a COM port. This allows devices that only have a 2-wire connection to be addressed via TCP/IP. To do this, you can set which TCP port the proxy should listen to and which COM parameters it should use when accessing the Modbus RTU device. Instead of a COM port, you can also specify an IP address and port. This allows Modbus communication to be established between two IP networks to which the cFos Charging Manager is connected.
MQTT system settings
You can set a standard URL to an MQTT broker here and then simply write "mqtt" wherever an MQTT broker can be set. "Use serial number in MQTT topics" ensures that the serial number of the cFos Charging Manager is added to MQTT topics. This allows you to use multiple Charging Managers / cFos Power Brain Wallboxes on one MQTT broker. You can also configure a broker URL for the transmission of log entries and the transmission of charging processes. Here are the instructions on how to use MQTT with the cFos Charging Manager.
Modbus SunSpec Server
You can use the SunSpec server to request the devices set up in the cFos Charging Manager via Modbus and change the maximum charging power in percentage steps. This allows, for example, active power control by the distribution network operator. Here you can set the TCP port number or a COM address to which the SunSpec server should listen, as well as a Modbus ID. To make it easier to request specific devices, you can use "Load SunSpec device list" to display a list of Modbus start register addresses (when the SunSpec server is running). Here are the instructions for the SunSpec server.
Mail (SMTP)
The cFos Charging Manager can send monthly mails with consumption data to users. As an administrator, you can set up access to the mail dispatch here:
SMTP server address, port, SMTP user name and password and a sender. If you activate the "Send charging processes" checkbox, you as the admin will receive all charging processes as an e-mail every month.
Tronity
The cFos Charging Manager can address the APIs of car manufacturers using Tronity. For example, you can read out the car's SoC and use it in charging rules. Enter your Tronity access data here.
Each car is listed with an ID. You can use this ID in the formulas for charging rules, e.g. as V1.soc (state of charge in %) or V1.range (in km) if the ID is 1. You can then use V1.soc < 50, for example, to query whether the battery contains less than 50% charge.
Smart Meter Gateway
The cFos Charging Manager can connect to a Smartmeter Gateway and exchange data with the energy supplier / grid operator via this gateway. You can specify the URL / IP address:port of the Smartmeter gateway and the destination address that the cFos Charging Manager should reach via the Smartmeter gateway, e.g. a server of the energy supplier. You can set whether the remote station (e.g. the energy supplier) should have admin rights for your system or only for the API functions of the energy supplier or no admin rights at all via this connection secured by the Smartmeter Gateway. TLS can be activated as encryption.
System time

Here you can set whether the time provided by an OCPP backend is to be used as the system time.
COM Port mapping
This concerns the general Charging Manager function on computers other than the cFos Power Brain Controller. Here it can happen that you have several RS-485 buses with different groups of devices. Then it can make configuration easier if you can map one COM port to another without having to change the COM port numbers in all devices.
Firmware update

(only cFos Power Brain, cFos Wallbox Booster and Charging Manager Kit ESP)
You can import the latest firmware here.
Hardware

(only cFos Power Brain, cFos Wallbox Booster and Charging Manager Kit ESP)
Here you can find out the exact model name, serial number and the current status of the two S0 inputs or the number of pulses received there. You can also teach in a new master RFID card if the original card has been lost. If you have installed several cFos Power Brain Wallboxes, you can identify the box, i.e. trigger a beep, so that you know which device you are currently configuring.
Here you can also allow the phases used to be switched even when plugged in. Alternatively, you can specify that the 2nd relay output of the controller can be set via Modbus. Only one relay can be activated at a time. The serial number must be entered for these activations.
Project data

In this text field, you can enter free text for the respective project with further information for the system.
General: Free text field for information on the project.
Invoice sender: Text field for invoice sender if you are using invoice creation in the Charging Manager.
Invoice footer: Text field for invoice footer.
VAT rate: For invoicing.
Average consumption: Comparison values for virtual measuring points for invoicing.
Energy consumption comparative values: Comparative values for invoices for wallbox consumption.
Actions

Modbus test
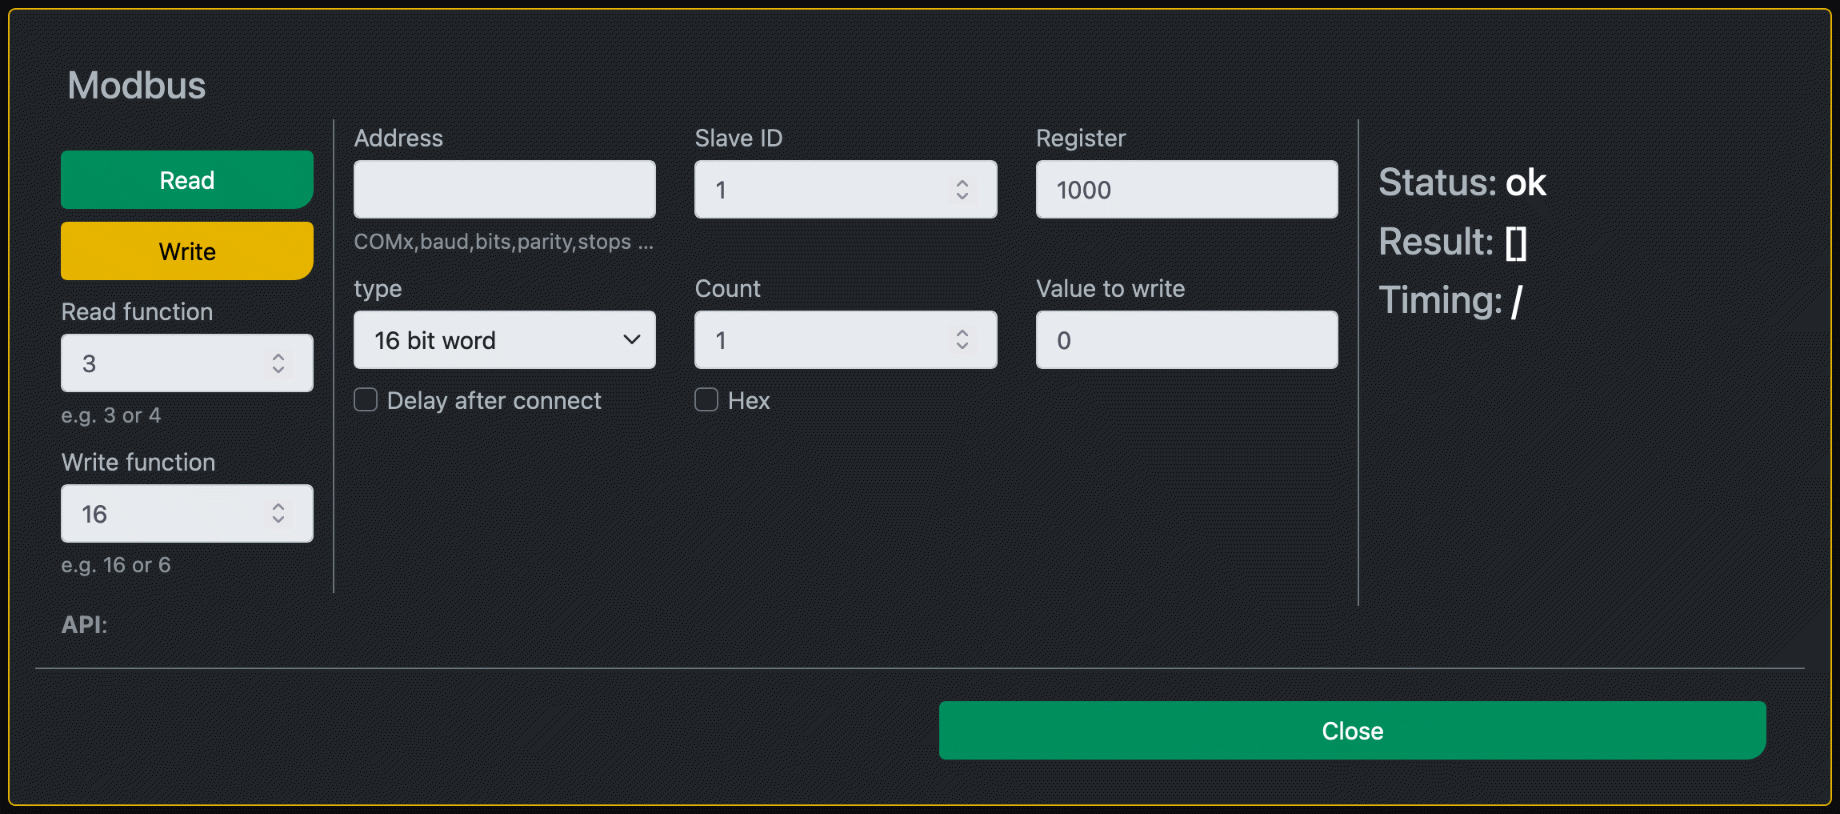
You can use this dialogue element to send individual Modbus commands to specific devices. As with the configuration of meters and wallboxes, enter the address and ID of the Modbus device in the "Address" and "Slave ID" fields. In "Register", you can specify the register number in decimal or hexadecimal format by prefixing it with 0x, from which you want to read or write. Use "Type" to specify the data type stored in the Modbus registers and "Number" to specify how many of these data types are to be read from the registers. When writing, you also specify "Value to be written". You can also configure the read or write function number. Then click on "Read" or "Write". The result appears in the "Result" and "Status" field.
Connecting devices with WLAN
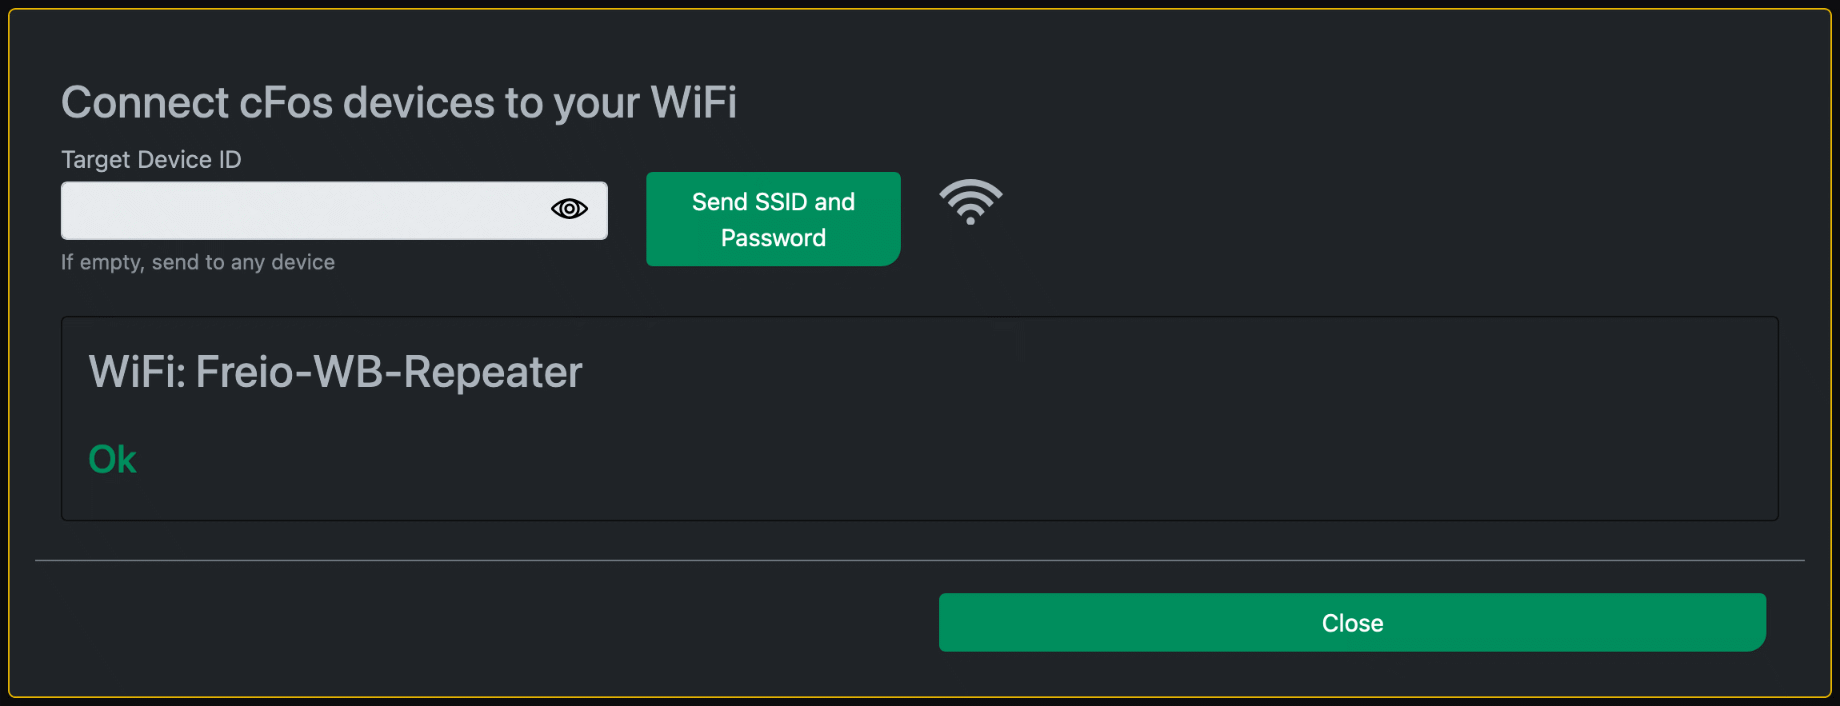
You can connect cFos Power Brain Wallboxes to the WLAN here. To do this, enter the Wi-Fi password to which the cFos Charging Manager / cFos Power Brain Wallbox is currently connected. Other devices may then also be connected to this WLAN.
Execute command
You can execute a command under Windows, Raspberry and Linux and display the text output. This allows you to maintain the system subject to the Charging Manager without external remote control software. This function is not available on the cFos Power Brain Wallbox.
Simulation
You can use the Charging Manager to simulate the interaction of several devices. Here are the instructions on how to use the simulation.
Tesla TWC
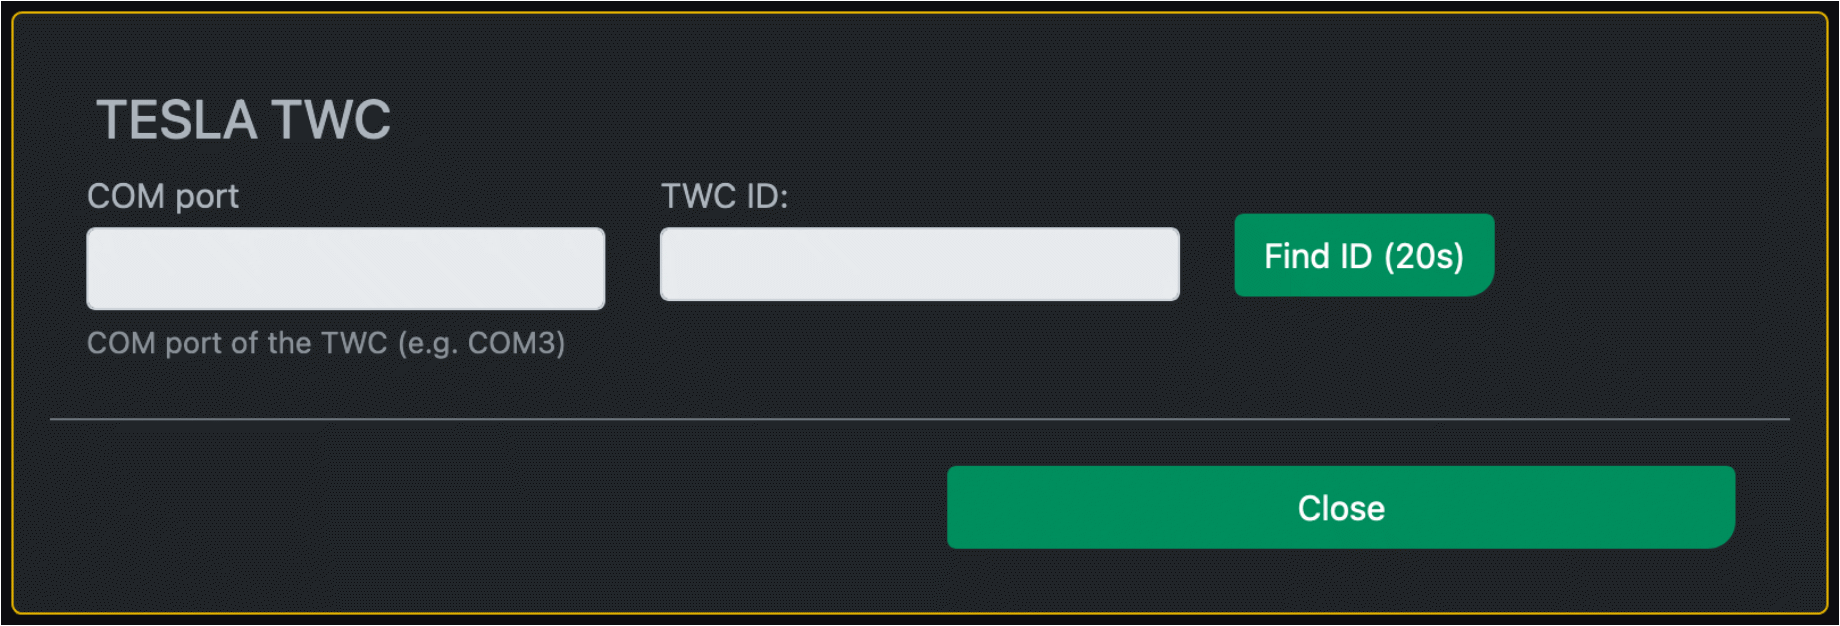
For the Tesla Wall Connector Gen 2, which can be accessed via the RS-485 interface, you need an ID that you must set in the wallbox configuration. You can determine this here by specifying the COM port to which the Tesla Wallbox is connected. For cFos Power Brain Controller, this is always COM1.
Manage devices in the network
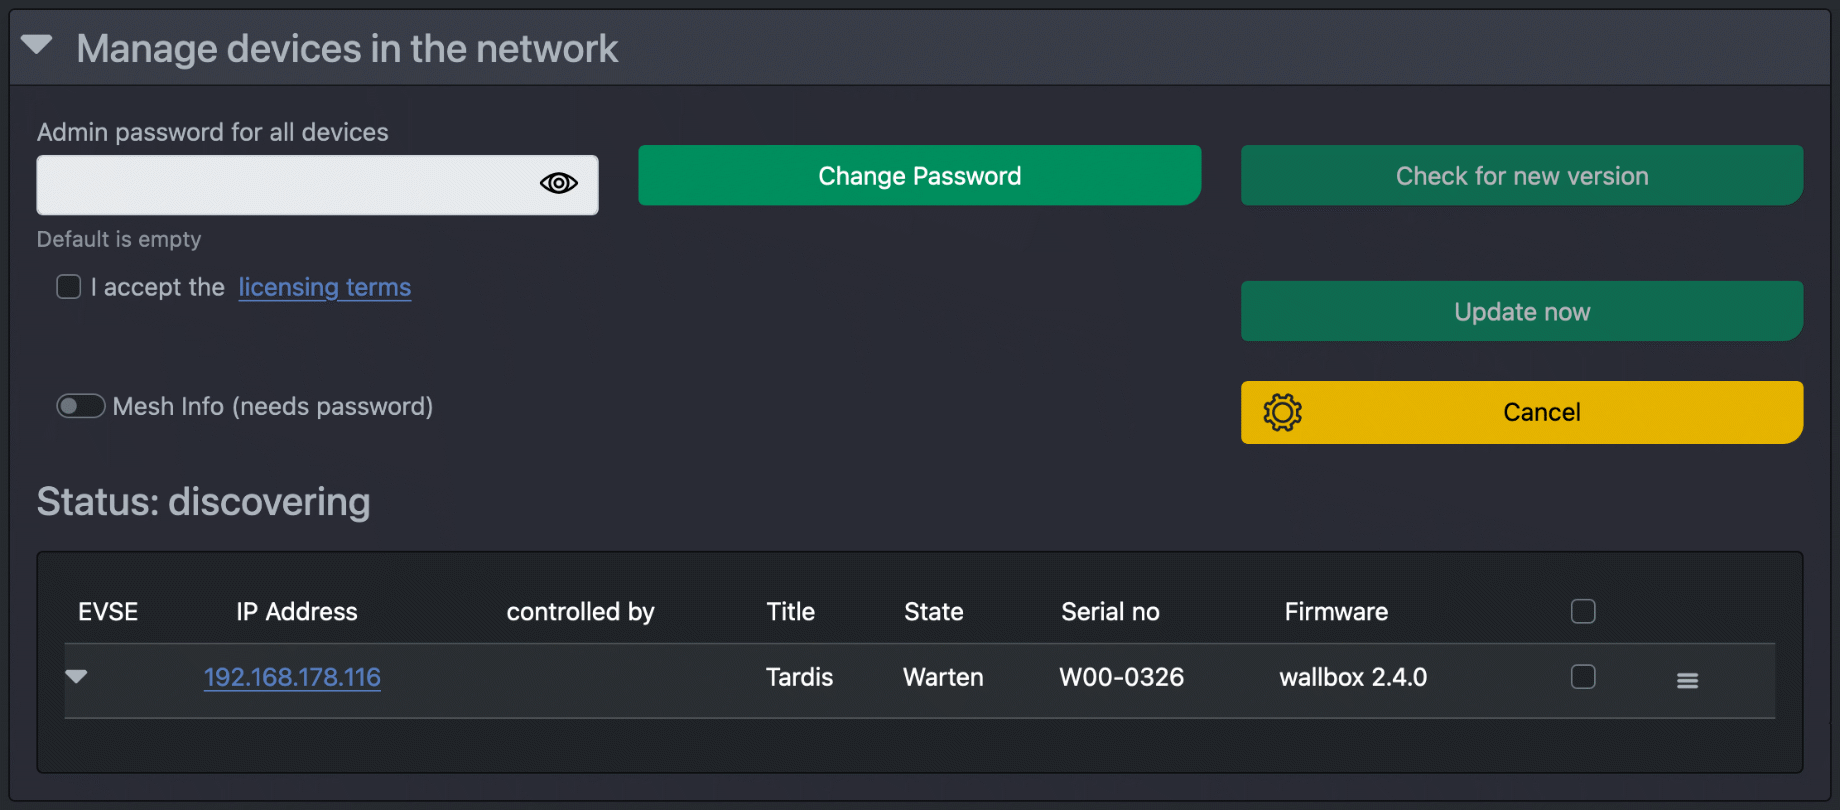
Here you can manage devices in your IP network, add new devices to the Charging Manager, import firmware updates, manage the cFos Mesh, etc.
